Google Maps
This page provides instructions to integrate Google Maps to use the Map Widget in your applications on the self-hosted instance.
Prerequisites
- A self-hosted Appsmith instance. See the installation guides for installing Appsmith.
- A Google Cloud account.
Generate Google Maps API key
- Log into the Google Cloud console.
- Generate a Google Maps API key. Follow the Create API keys guide on the official Google Maps platform documentation.
- Restrict the Google Maps API key. Follow the Restrict API keys guide on the official Google Maps platform documentation.
- Ensure that you've enabled Maps Embed API, Maps JavaScript API, Places API, and Geolocation API when following the Restrict API keys guide on the official Google Maps platform.
Configure Google Maps on Appsmith
You can add the API key in one of the below ways:
Admin Settings
If you have assigned the API key value using an environment variable for your instance, it takes precedence over the value provided through the Admin Settings UI.
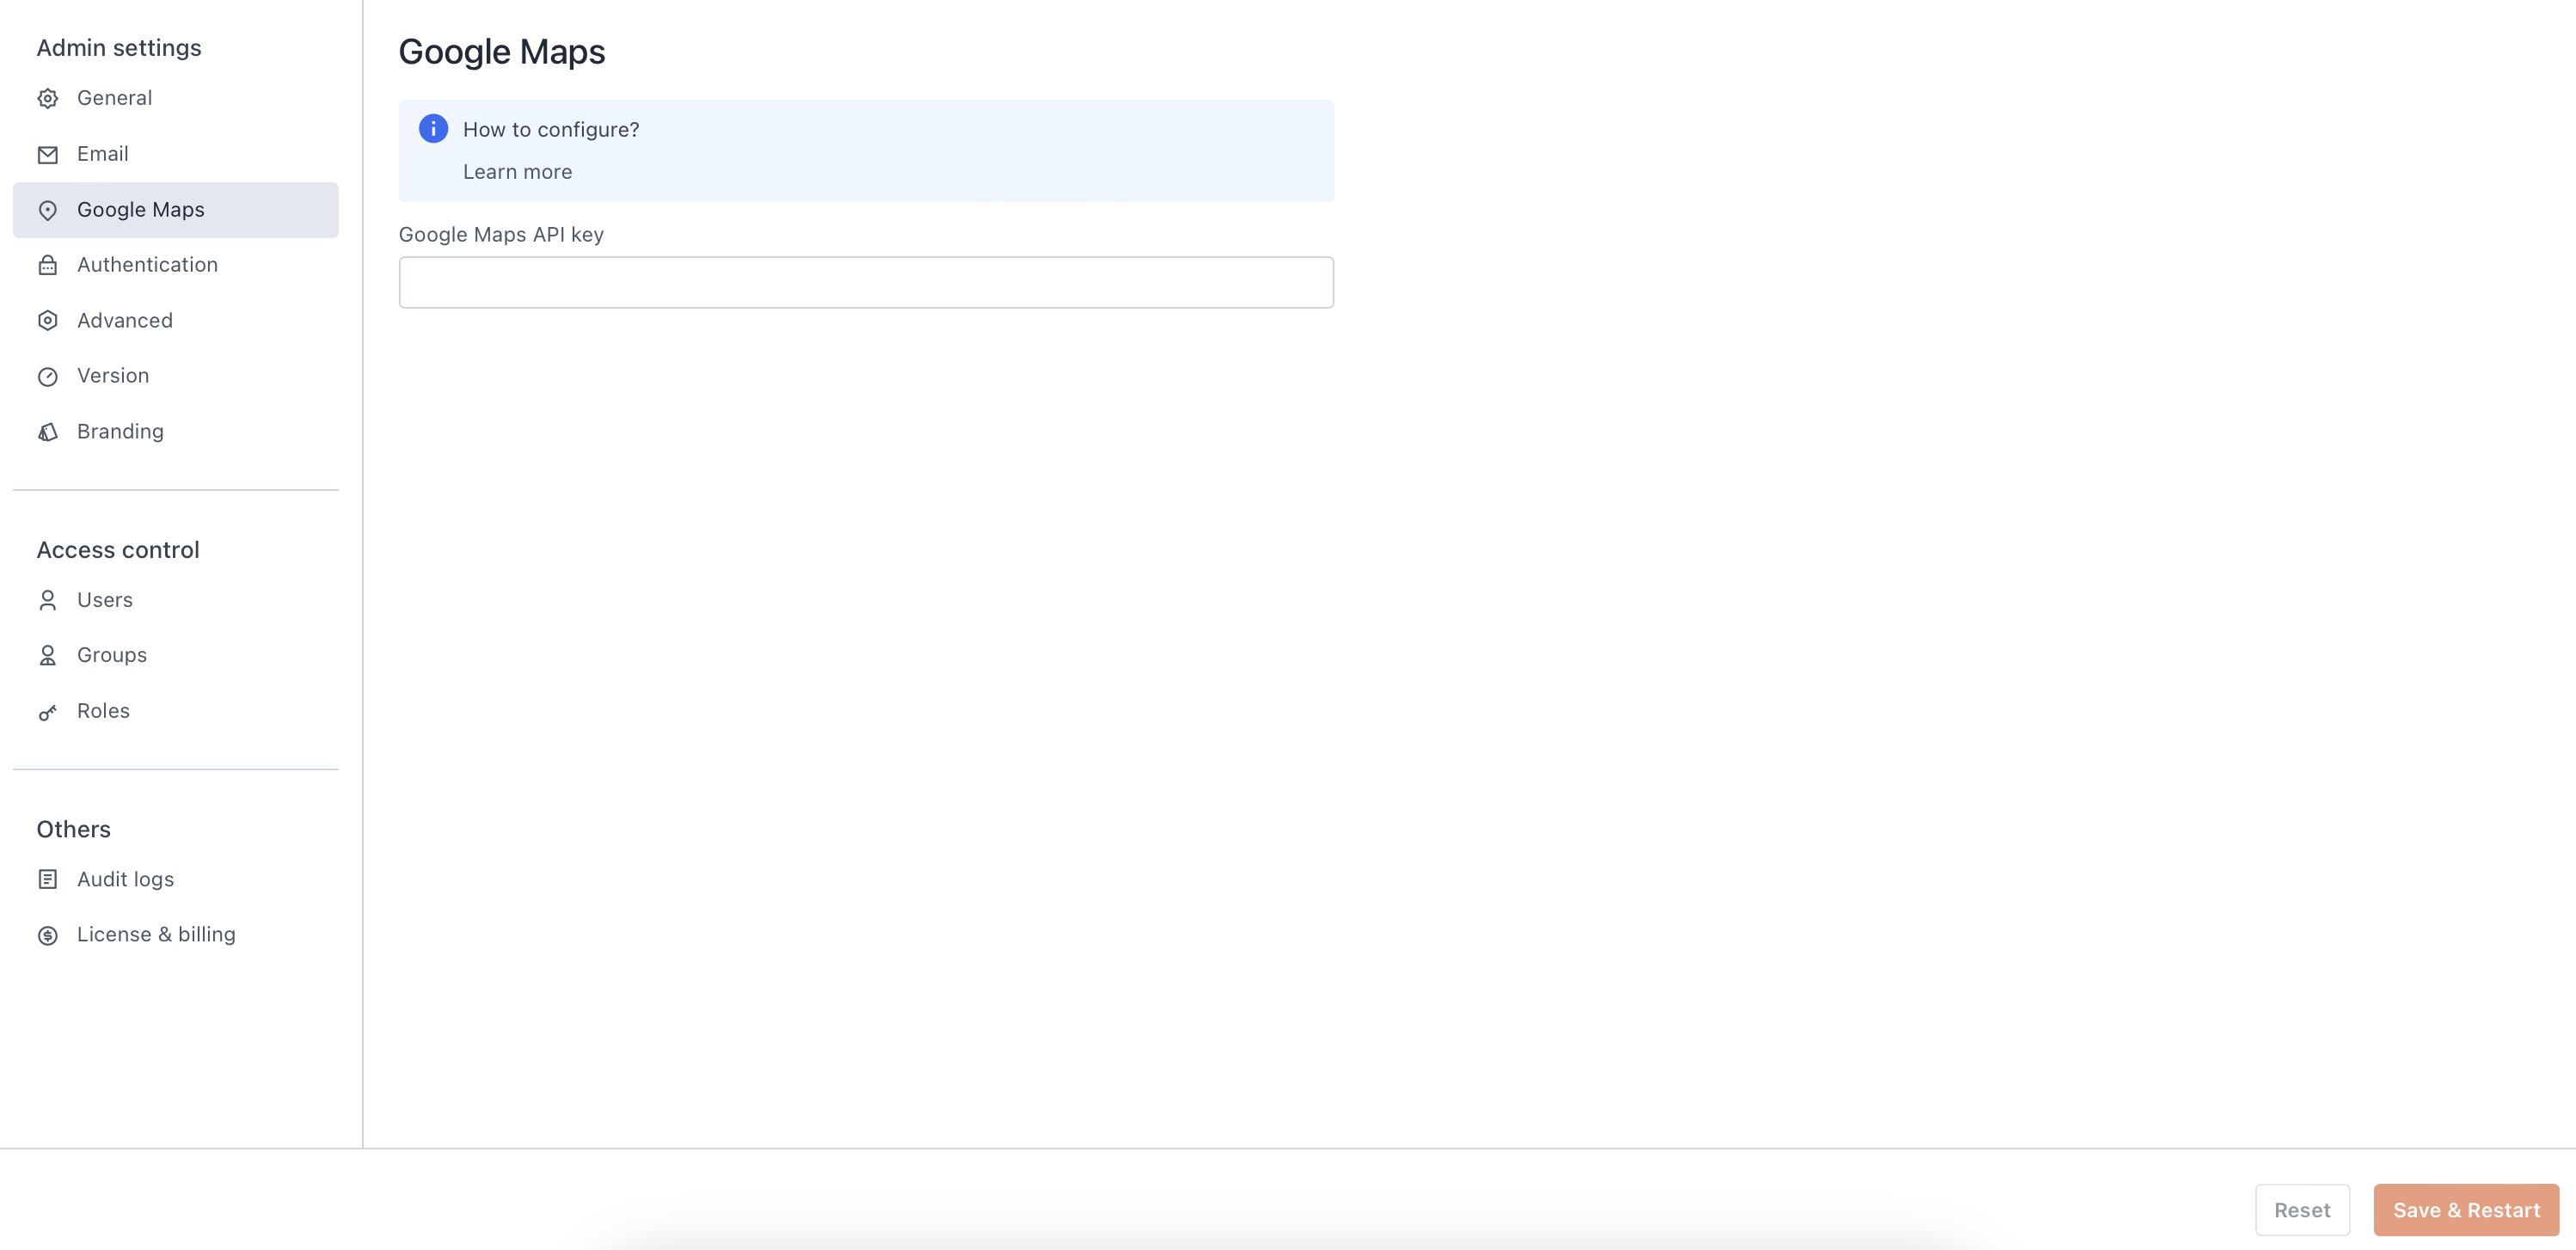
Follow these steps to add the API key to your self-hosted instance using Admin Settings:
-
Log into your Appsmith instance as a superuser.
-
Go to Admin Settings screen.
-
Select Google Maps from the left nav bar.

-
Add your API key to the Google Maps API Key field.
-
Click the SAVE & RESTART button to restart the instance.
Environment variable
Follow these steps to add the API key to your self-hosted instance using an environment variable:
-
Go to the location where the Appsmith configuration file is located. For example, the
docker.envfile for Docker and thevalues.yamlfile for Kubernetes. -
Update the value of the
APPSMITH_GOOGLE_MAPS_API_KEYvariable as shown below:
# Google Maps API key
APPSMITH_GOOGLE_MAPS_API_KEY=<YOUR_API_KEY>
- Restart the instance.
You're all set to use the Map widget in your Appsmith applications.
Troubleshooting
If you face issues, contact the support team using the chat widget at the bottom right of this page.